
Painting Metal with an Air Gun
Painting metal the conventional way with a brush or roller often turns out to be a troublesome task. This is because the brushes and rollers leave streaks on the metal or can transfer too much paint. You can avoid this problem and make the task much easier using an air gun, or spray gun. The air gun is capable of storing a large amount of paint and is applied by air pressure. The air atomized paint effectively, smoothly extending through the surface.
Instructions
- Prepare the metal you are going to paint. This should be clean, without any dirt or waxy residue. If necessary, sand the metal with sandpaper. The type of sandpaper you use depends on the texture of the metal. An extremely rough, crushed or rusted metal must be sanded thoroughly. Use sandpaper to finish fine-grained metal and give a smooth, even surface. After you’re done, apply masking tape in any area you do not want to paint.
- Move all supplies, including metal, air gun and painting, to a clean work area. A paint booth is preferable for this job. If you do not have access to a paint booth, your work area should be clean. A work shed or garage should be enough. Whatever the area you choose, it should be closed so that no particles may fly over the metal surface while you are painting. If you use a work shed or garage, remove anything you don’t want to accidentally spray with paint, like a car, tools or lawn mower.
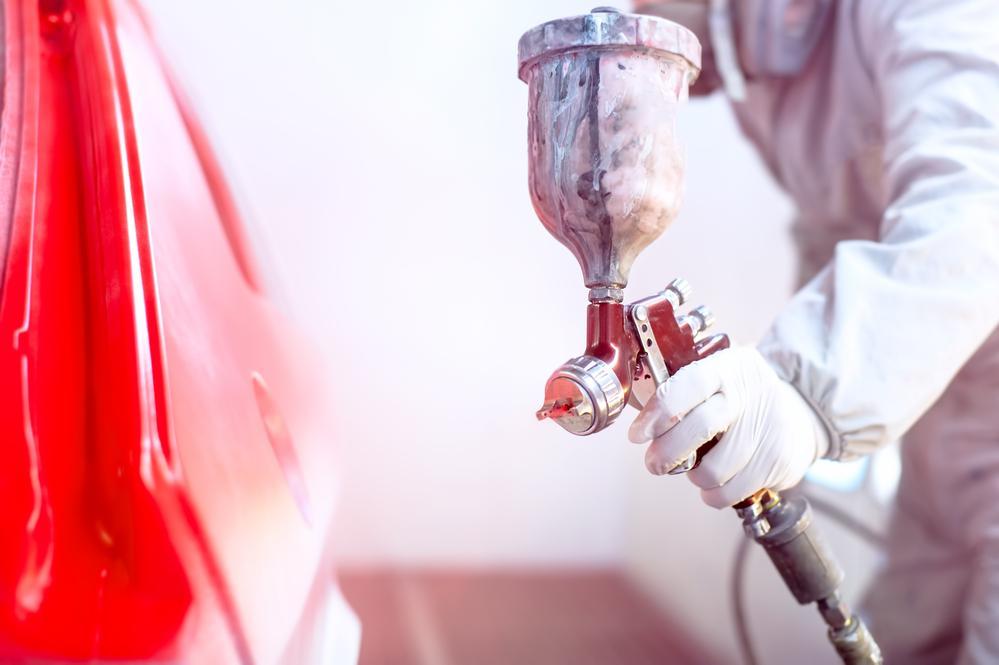
- Connect the air gun to the air compressor. The air hose should be well connected to the compressor and the air gun. Before you start painting, put on protective gear, including a mask, goggles and gloves.
- Fill the container of the air gun with primer. Turn on the compressor and adjust the settings of your gun. Spray a test pattern on an old piece of wood or a piece of junk. Keep the spray gun 1 to 8 inches (2.5 to 20 cm) from the surface. Try to spray at different distances to see which gives the best results. Examine the test pattern rewrap the spray gun as needed.
- Hold the metal perpendicular to the gun and pull the trigger. Hold the gun in the distance that gave the best results in the test object. Release the trigger just after going over the edge of the metal. Go back and begins the second coat in the same way. Place the sprayer so that the spray pattern overlaps the first pass by about 50%.
- Continue until you have completely covered the metal with primer. Let the primer dry. Sand the surface again if there are any rough spots. Also clean the surface to remove debris.
- Clean the container with paint thinner to remove any traces of primer left behind. It also adds a little more to the container and spray solvent through gun until clean. This will remove any primer that is left behind in the nozzle.
- Fill the spray gun container with the paint you’ve chosen for the metal. Make sure the paint is acceptable for use on metal. Spray a test pattern on the piece of wood or scrap metal. Re-adjust the settings as needed. Apply the paint with the same technique that you used when the primer is applied.
Tips & Warnings
- Use a mask and protective clothing when you use an air gun to apply primer or paint.


