
How to Paint an Oven with Heat Resistant Paint
When you are looking for ways to rejuvenate the kitchen, it is not always possible to purchase new equipment. Fortunately, an alternative to buying a new appliance, such as an oven, so it looks new and vibrant again, is a coat of paint. However, you cannot paint with just any paint. You have to use a heat resistant paint, which is generally epoxy based. With the correct preparation and application techniques, you can paint an oven with heat – resistant paint and rejuvenate any kitchen.
Instructions
- Clean the entire surface of the oven. Scrub it to remove grease and dust and filth. In most cases you should clean the surface of the oven with a sponge (or cloth) and a mixture of soap and water. For a more thorough cleaning, use a scrub brush or stiff bristle stainless steel pad. If your oven is painted, gently rub the surface with sandpaper and then clean any dirt with a damp cloth.
- Remove the electric coils and covers, and other parts of the oven which can’t be readily removed and that you do not want paint. Use painter’s tape to mask areas you do not want to paint, such as door handles.
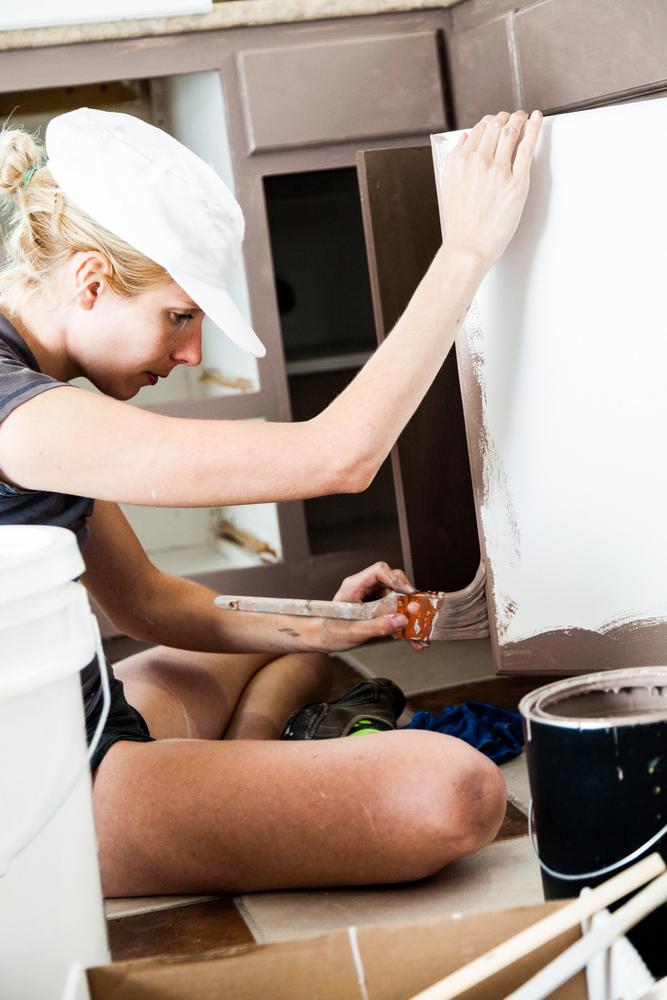
- Apply heat-resistant paint with a brush. Follow the specific label instructions on how many layers should be applied and the drying time. Let the paint dry.
- Open the windows to provide good air circulation and ventilation when you use the oven for the first time after you’ve painted. Your oven may give off mild vapors or light smoke the first few times you use it. This should not happen more than the first few times the oven is used, but open the windows on these occasions so that the air remains safe.
Tips & Warnings
- Start with the painting process when the oven is completely cool. Ideally, the surface temperature of the oven should be about 60 ° F (15 ° C) or at room temperature.


