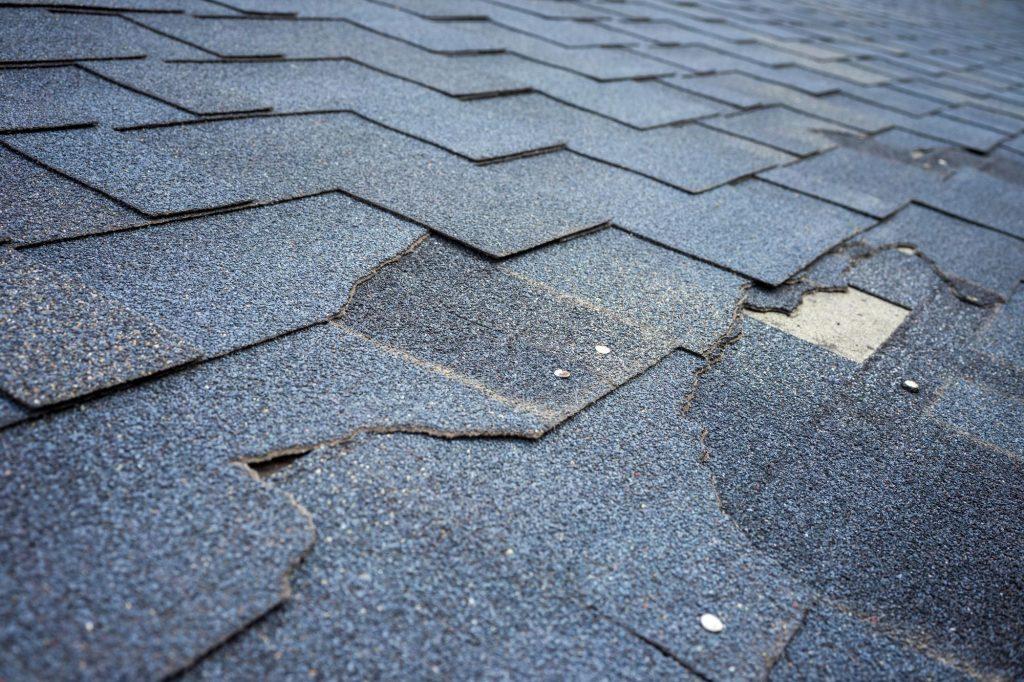
Over time, exposure to the elements and damage caused by certain animals (which build their nests in this area) can cause the eaves of your house (te edges that protrude from the roof) to lose their attractiveness and structural strength. Fortunately, repairing rotten or worn eaves is a relatively simple project that you can do on your own without needing to climb on the roof. You should start by separating the bottom and sides of the old eaves and cutting the new materials to match. Apply a sturdy, waterproof coating on new parts, and then secure them with stainless steel nails. Lastly, seal the cracks with putty to keep water, squirrels, bugs, and other destructive intruders away from the roof forever.
Remove damaged materials
Remove the gutters and flashing, if necessary. For you to have clear access to the eaves, you must first separate the drainage structures that covers them. Unscrew the gutters on the supports. Then, remove the nails that hold them in place and carefully lower them. You should do the same with the flashing in the areas where it overlaps with the eave’s edges.
Place a ladder on a flat area directly below the gutter section you are going to remove and ask a friend to help you stabilize it while you work.
If you have a larger project, consider renting and assembling a full scaffold around the roof. Also, it is much safer to work on a scaffold, as it does not require additional support assistance.
Extract the tiles . You need to position yourself in a corner of the roof and insert a crowbar into the narrow space at the top of the tile mold (the thin strip of wood just below the tiles). Push the tile away from the roof a few inches at a time. Then, lift the entire piece into one section. You can keep the old tile pan if it appears to be in good shape for later reuse.
- If you are having trouble removing the tile molds from the shingles, try marking the top and bottom edges with a razor.
- Be careful not to damage them when removing with the lever.
Remove the rotten girdle. Once you have removed the mold from the tiles, you can simply work the band (the vertical planks that frame the outside of the eaves) by hand. Due to their state of deterioration, they should come off easily. Please do not discard the old belt for now, as it will be useful for cutting replacement materials.
- Use the lever to loosen the sections that have jammed.
- Keep a large trash can or similar container nearby to dispose of all rotting roof materials once the project is complete.
Remove the old eave cover. This element is the wide horizontal board that encloses the bottom of the eaves. Like the girdle, a rotten cover will be soft enough that you can remove it by hand. Take the exposed edge of the board and pull it down firmly to remove it.
- Do not be surprised if the cover breaks as you try to free it. Often water-saturated boards will be prone to crumbling.
- You must be careful when removing the old cover. It is not uncommon for birds, squirrels, and insects (such as bees and termites) to build their nests behind these enclosures.
Cut rotted or damaged beams. Examine the condition of the thick beam that runs along the eaves. If it is in good condition, you can leave it in place and install the new materials around it. If it shows signs of decomposition, water damage or other wear, you should cut it with a reciprocating saw.
- To facilitate the extraction process, you should cut the beam into sections of 1 to 2 feet (30 to 60 cm). Then you must pause to extract each section individually.
- If the eaves are supported by multiple joists, you should remove and replace them one at a time to avoid damaging the stability of the roof.
Gather your supplies for the new eaves. Go to a local home improvement center and buy boards to replace the worn cover and sash. It is important that the new boards match the old ones in terms of width and thickness. You can cut them to the correct length later. Also, you can take a small section of the old materials for reference.
- In addition to wood, you have the option of choosing a cellular PVC, cement fiber, aluminum, or galvanized steel material for the new eaves. These materials are considered stronger and more durable in the open air than ordinary boards.
- Make sure you also get enough pressure-treated lumber to make new beams and molds, if necessary.
Cut the new wood to make the joists if necessary. If you need to replace the supports, you must cut the new beam to match the old one. Remember to use only pressure-treated wood for the beams, as it is much better resistant to humidity and tension.
Install the new beams. Attach the replacement beam to the wood board with a clamp on the back of the eave enclosure to hold it in place. Secure the beam with 4-inch (10 cm) wood screws. Once you have successfully replaced one beam, you can safely begin removing the next one.
- Because beams are a critical part of the eaves support structure, you need to make sure they are in good condition before you begin installing new components for the eaves.
- Press the newly installed beam to verify that it is solid and secure before continuing.
Cut the new cover. Use a section of the rotten cover as a template and cut the replacement material to the correct size. You can carry out this procedure with a handsaw, although with a circular saw or a fixed saw you will get more precise and efficient results. Ideally, the deck should consist of only 1 or 2 boards to minimize leaks.
- If you don’t have enough of the deck intact for you to use as a template, you should measure the bottom of the eaves from one side of the house to the other and mark the dimensions on the new board.
- You must use as few pieces as possible to form the cover so that water, insects, and other destructive forces are less likely to enter the eaves.
Cut the replacement girdle. Trim the sash panels to the correct length in the same way you did the cover. Be sure to cut the edges where the boards meet at opposite 45-degree angles to fit properly.
- If the eaves of the house feature unique projections or angles, these features may need to be measured and marked on the girdle board before cutting to confirm that everything is aligned as expected.
- Some materials (such as aluminum or steel) may need to be measured and cut in-store by a home improvement specialist before you take them home.
Install and protect new materials
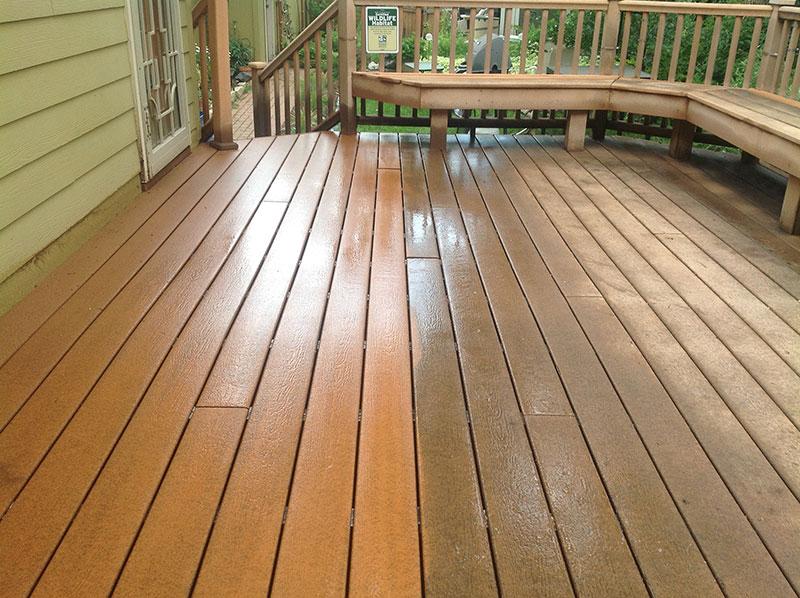
Apply a coat of weatherproof sealer to the wood strip and decks. Before you put the new roof components in place, you need to make sure they can stand the test of time. The best way to do this is to treat these details with a wax or resin finish. Apply the sealant to both sides of the materials. Then let it sit until they feel dry to the touch.
- It should only take 1-2 hours for the sealer to dry until a functional finish is achieved.
- Once applied, the sealant will help repel moisture, mold, dirt, and other problems, preventing wood from decomposing later.
Attach the new cover. Align the deck board with the underside of the eave so that its edges line up with the beam. Then, nail it in place. If you want a stronger grip, you can put a nail every 10 or 15 cm (4 or 6 inches).
- The 4 cm (1.5 inch) wood screws are also considered strong enough for this job.
- You can ask a friend to hold the board in place while you nail it.
Apply putty around the edges of the cover. Use a caulking gun to fill in any gaps or cracks you find on the new deck. In this way, you will provide greater protection against water and insect related damage. Let the filling harden before modifying the cover in any way.
- You can also use roof cement or wood filler instead of the traditional sealer.
Tips
- You should invest in high-quality, durable construction materials to ensure that new eaves last longer.
- Before you go to the trouble of repairing the eaves, you should make sure you have thoroughly inspected the roof and resolved the cause of leaks and other damage. Otherwise, it won’t be long before the same problems occur with new materials.
- If you have questions about your ability to install any of the new roof components on your own, you can find a professional contractor. This type of repair tends to be relatively inexpensive and generally only requires one day of work.
Warnings
- You should always take proper safety precautions every time you operate chainsaws and other power tools.
- If you discover large insect nests or hives while replacing the eaves of the house, you should call a pest control specialist.