All homeowners want their home to be as safe as possible and everything starts with the roof. Although roofing materials usually last for 20 or 30 years, roofs will start to wear out sooner or later and can cost several thousands of dollars to repair professionally. Fortunately, with the right materials, planning, precautions and the adequate effort, any homeowner can renovate the roof of his house in a safe and economical way.
Keep in mind local building codes related to roofs. Many building codes regulate the number of layers of tiles that a roof can have, as well as the authorized tile materials.
- Coastal areas that experience many winds and hurricanes have different load and structural design requirements than those in more central areas. If you live on the coast and want to work on the roof of your house, you must be very careful to obtain the appropriate permits to ensure the safety of your project.
Obtain all the necessary permits. Check with your local government agency if you need a building permit before changing the roof of your house. The permits are often offered by the Construction Services Department of the city where you live. Generally, you can get your project authorized if you provide the following:
- Proof that you are the owner of the property
- Application for permission (they provide it to you)
- Declaration of reparation stating that you will replace the roof you are going to remove so that the construction complies with the current code.
- Construction designs
- Lifting designs
Choose an appropriate type of tile. There are many varieties of tiles available, some of which are more appropriate for certain climates and roof styles. Choose something suitable for your location, your home and the style of the project.
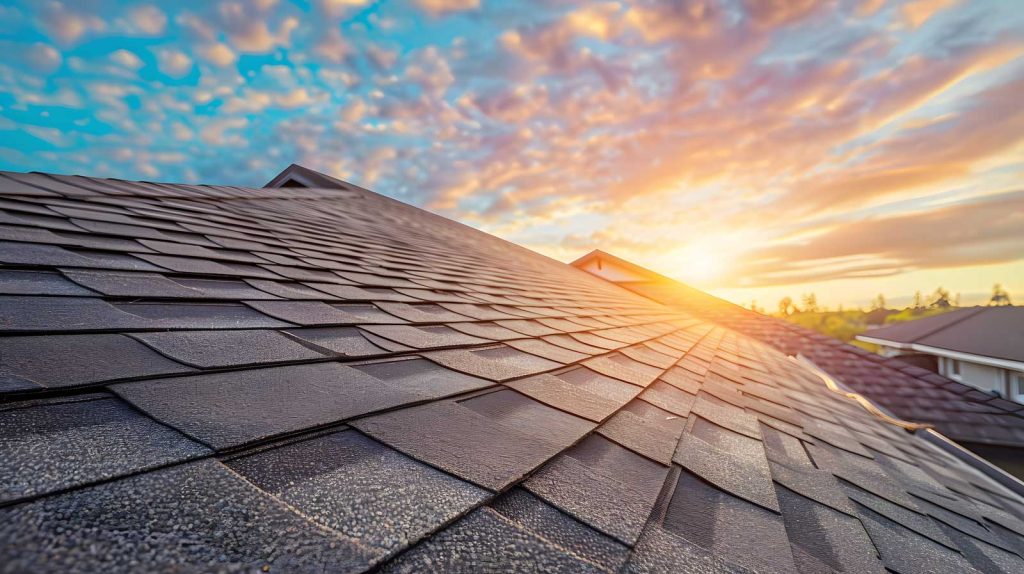
- Asphalt shingles are the most common type of roofing shingles. They are very durable, and their life time can reach 20 or 30 years in the right conditions. Being reinforced with fiberglass, asphalt shingles often have a bit of roof pitch that sticks on top of the shingles.
- Slate tiles are the heaviest and most durable tiles you can buy. Because they break easily, you need special pressure cutters to cut them and they are about three times heavier than the other tiles. It is recommended that you use slate tiles only if you are an experienced roofer looking for challenges. Slate tiles are great if you want to create a unique and durable roof for your home and are willing to go the extra mile.
- Laminated tiles look like slate tiles, but they are layered asphalt shingles. They are similar, but a little thicker than asphalt shingles, so working with them could be similar. If you like what the board looks like, but you want the job to be a little easier, consider using this type of tile.
- Wooden shingles are often the piecing of cedar, spruce or pine cut by hand. Wooden shingles are common in coastal regions of New England and allow a dilation and appearance of natural wear that some people like. They must be placed at a certain distance so that they can expand, but these types of tiles usually last 30 years if they are properly installed.
Define how many tiles you need to do the job. The area of the surface that will cover the tiles is defined as a square of 9.29 square meters (100 square feet). However, tiles are usually sold in batches and usually 3 batches are needed to cover 1 square.
- To find out the number of lots you must buy, measure the length and width of each section of the roof and multiply both to get the area. Add the areas of each section, then divide by 100 and you will get the number of squares that the roof has. Multiply this number by 3 to know the number of lots you need to buy.
Measure the length of a tile when you place it on the roof. This will help determine how the tiles you place across the roof will look like. Most asphalt shingles measure 91.4 centimeters (3 feet) in length. If the width of your roof is not a regular multiple of the length of the tile, you will have a piece left over at one end of each row.
- The last row of tiles should hang above the edge of the roof. In the case of a roof with wooden tiles you would have to cut the tiles that go along the edges to create a straight line to accommodate them.
Prepare your roof
Take the appropriate safety precautions. Many roofs are very sloped and require roof struts to make work safer. Scaffolds and baseboards help secure the area above and around the roof to prevent tools and equipment from falling off the roof and hitting a pedestrian.
- Place roof racks 5 x 25 cm (2 x 10 inches), about 91 cm (3 feet) above the roof edge. Make sure you wear a good pair of rubber-soled boots, so you do not slip while working on the roof. Goggles and work gloves are also recommended.
Rent a dumpster. It is useful to rent a large dumpster to throw away the old tiles. Normally, this costs about $200. If you keep it as close as possible to the house and cover the air conditioning units, the porches and other things that you do not want to be dented or dirty with the nails of the tiles and other rubbish, you can save cleaning time later.
Start by removing the tiles in the uppermost part of the trash container. Use a garden rake or shovel specially designed for roofs to take off the tiles to remove them more quickly or you can do it by hand and use a hammer. Leverage the nails, first loosening the ridge and then the tiles, picking them up with the shovel to take them to the struts. Take frequent breaks to take them to the trash with the shovel. Do not worry about removing all the nails at the beginning, some of them will come out with the tiles and others will not.
- This is usually the dirtiest part of the job and it demands more physical effort, so make sure your plan takes into account the time and effort required to complete it. The tiles are often heavy and dirty, so do not stack them for a long time before removing them from the roof struts and taking them to the trash.
- Step very carefully and make sure you work with at least one other person. Consider investing in a safety harness if you are on a very high roof.
Remove the metal flashing that is around the chimney, the ducts and the roof files. Some roofers reuse the metal flashing if it is in good condition, in which case you would have to carefully remove the nails and leverage them. Although to be honest, the flashing in the lime hole is almost always worn. Consider replacing everything while you are halfway through the project. If it looks questionable, drop it and install a new one.
Clean the roof. Sweep the roof and leave it as clean as possible, taking the time to remove any stray nails that did not come out when you removed the tiles. Reattach the loosened boards to the siding. Examine the siding to see if there are damages and rotten boards and replace the damaged sections as appropriate.
Install a barrier against ice and water and an asphalt felt. This sub-layer will serve as a temporary barrier against the weather. If you have gutters, you will need the ice and water barrier to cover all the gutters in the roof. Fasten it with tacks separated by a few inches at the top to hold it in place. Once the entire section is attached with tacks along the branding line, raise the bottom, peel back the backing and then drop it back into place. The ice and water barrier will automatically stick to the roof.
- Unroll and staple a 13.5kg (30lb) felt over the rest of the roof. Use many 0.8 cm (5/16 inch) staples to make it safer to walk on the felt and avoid it being blown away by the wind. Now is when it’s worth having a hammer-type stapler (it costs about $30).
Complete the process of making your roof “weatherproof” with tarred paper. Use tin caps approximately 5 cm (2 inches) around metal discs and place them under the roof nails to prevent the felt from crumbling and blowing away in the event of winds before they are finished to place the tiles.
- Keep the paper aligned and straight with a score line on the roof deck using marks measured from bottom to top. Do not use the bottom of the roof as a straight line. Doing so will cause the paper to bend, leaving wrinkles in the material. Allow the felt to extend from 6.5 mm (1/4 inch) to 1 cm (3/8 inch) at the bottom edge of the roof.
Put on the new roof
Put a drip mount around the perimeter of the roof. Use roofing nails separated by a distance of 30 cm (12 inches) that extend from 6.5 mm (1/4 inch) to 1 cm (3/8 inch) beyond the edge of the roof over the felt paper.
Place the flashing on the roofing tile, where two sections create a peak. The flashing comes prefabricated, folded to fit or flat and ready to be cut.
- Some roofers like to reuse the old flashing if it’s still in good condition. The flashing almost always wears out but use your best judgement as to whether it can be reused. Usually, you will have to replace it.
Make a series of lines of marks separated by a space of 15 cm (6 inches). Use marks with chalk to keep the course of the tiles straight.
Place the initial course. Follow the lines of the marks, nailing your tiles with intervals of 15 cm (6 inches). Leave a space of 7 cm (3 inches) between the nails from the top edge of each tile. Depending on the type of tile you buy, there could be a special group of tiles for the initial row or a roll of lathing material that you can cut according to the length of your roof.
- If you are going to use 3-tab tiles, place the nails approximately 1.8 centimeters (3/4 of an inch) above the cutouts, near where the tabs are attached to the top of the tile. Also, place a 5 cm (2 inch) nail on each end of the tile, aligned with the other two. In total, you will use four nails for each 3-tab tile to secure them.
Place the first course. Make a line to mark the initial row to use as a guide and remove the plastic strips from the back of the tiles in the package. Cut 15 cm (6 inches) from the length of the first initial tile you nailed, then use the rest of the tiles without cutting them. Modifying them in this way will join the ends of the first regular row of tiles that you placed on top of the initial tiles.
- Alternatively, you can use an initial row of full-size tiles if you flip them until the tabs face up.
Place the second row of tiles. Put the first tile of the second-row half tab further back 17 cm (6 inches) from the edge of the first tile in the starting row so that the bottom of its tabs touches the top of the cut spaces in the tile that is located below. This half tongue must be cut in the part protruding from the left edge of the gable roof.
- Continue placing the tiles in this same way, cutting the tiles to fit in the additional space you leave at the end of each row. Leave spaces between ducts, chimneys and flashovers and take more time in those areas.
Place tiles around ducts and chimneys. Cut a square of flashing that extends about 15 cm (6 inches) from the tube, with a hole in the center large enough to fit the tube. Place the tiles over the flashing, using glue to hold them in place and cut a special tile to make it fit over the pipe and finish the job.
- There are “boots” for ventilation pipes that you can buy to slide them over the ventilation pipes or provide them with additional protection. A rubber washer makes it fit precisely and prevents the union from dripping.
- To place the tiles around chimneys, cut several batten slats to fold them and create a bond between the outer edge wall of the chimney and the roof. Install them normally and place the tiles until they reach the edge of the flashing. Use glue for roofs and place the tiles on the flashing as usual.
Install the prefabricated ridge. Use cement roofing adhesive on any exposed nail according to the manufacturer’s instructions. Ridge tiles are used to connect your courses on one side and the next, finishing the higher parts with a uniform finish.
- Although it is recommended to use prefabricated ridges, it is also possible to cut and make your own ridges with regular 3-reed tiles. Cut them according to the size you want and fold them over the high parts, installing them as usual.
Finish the job. Roofing causes a lot of clutter, so it’s important to save time when you work and clean up afterwards. Nails, pieces of lost shingles and other debris will likely contaminate the yard and the area around the house, which can be dangerous.
- Some roofers pass high strength magnets (something similar to a metal detector) to collect the lost nails. Sometimes you can rent them at roofing supply stores to make sure there are no dangerous nails out there.