
Installing a Privacy Fence
Installing a fence will add the necessary privacy to your property. There is a wide variety of options for every budget and aesthetic taste. The following guide will teach you how to install a wooden privacy fence, although other options are also explained and discussed.
Before building your fence
Check the rules of the neighborhood. Before building a fence, it will be important to determine if you are allowed to build. If you build a fence in a place where it’s not allowed, you could get a fine and you’ll have to take down the fence. Before building, consult the rules of your local neighborhood or those of the neighborhood association regarding the construction of fences.
Check the city codes. Frequently cities have rules about fencing. You will need to find out what they are before building one. Some cities require permits to build a fence of any height, others only for those that exceed a certain height. Find out if you need a permit or if there are any other restrictions for your construction.
Get a permit. If you find out that if you need a permit, get one before building. It usually costs a little money and can be obtained from your local Municipality or from the Planning Department.
Choose your materials. It is important to decide what type of fence you want. There are many different types of materials, all with different benefits and drawbacks. You will need to consider how much time you want to spend or keep, how much money you have to spend on building the fence, and how long the fence should remain at your location.
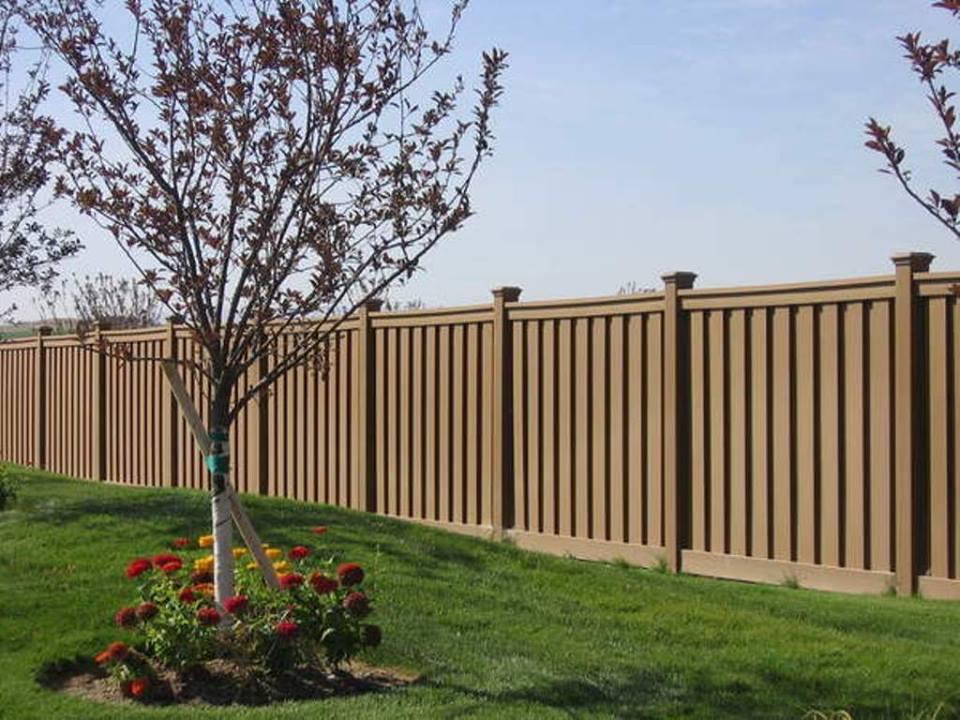
A wooden fence is the most common. It lasts between 5-20 years, depending on the type of wood (for example, cedar will last longer than pine) and are relatively cheap. But wooden fences can be difficult to clean if paint is placed on them.
Vinyl fences will last many times longer than wooden fences, they can last a lifetime if you use quality vinyl. They can come in a variety of colors that should not fade over time and are easily cleaned if you put paint on them. However, they are slightly more expensive in terms of initial costs.
Brick is an option if you do not like the look of vinyl or wood fences, or if you feel the need for something stronger. You can use real bricks or you can use “concrete block”. The concrete block can then be covered with clay or plaster for a more “southwest” look. Concrete blocks can also be placed perpendicular to each other to create a patterned look on your wall. However, any type of masonry construction will be much more expensive than the other options, although it will last longer than wood.
Farm fences or green fences are a good option if your city is very restrictive with permits or if permits are very expensive. They are also good if you prefer more green plants in your garden, instead of fences. You can plant Arvovitae, a green shrub that grows three feet a year, put it on an iron or chain fence and bind ivy on it, or plant more standard hedges like holly.
Place the posts
Find the location for the posts. Use thread tied to stakes, determine the perimeter of your fence and mark the location of the corners, also measure and mark the locations of the intermediate posts (if necessary). The distance between posts depends on you but take into account that the normal space is 8 feet from center to center. Mark all locations with spray paint or stake holes.
Dig the holes for the posts. Use a hole-making device and dig holes at least ¼ to ⅓ of the height of the planned fence. Be sure to follow the rules stipulated in your permit, because many cities have rules about the depth of the hole. You will not want to hit a water pipe!
- You can use a manual excavator or a motorized drill. You can rent both at your local hardware store.
Place gravel. You should put a couple of inches of gravel at the bottom of the hole, to provide drainage and make sure the posts do not rot.
Place the posts. Use 4×4 poles at your preferred height (factoring in the depth of the hole) and place them one at a time. This may require someone else to help you.
Pour quick drying concrete. Before placing the concrete, use a pole scale to ensure the pole is vertical and double check the height to make sure it is the one you want. Pour the concrete, mix it with water according to the manufacturer’s instructions and continue using the scale while pouring it to make sure it stays straight.
- Alternatively, mix the quick-drying concrete in a bucket or wheelbarrow and then pour it.
- You could still use thread to make sure the posts are aligned with each other.
Continue placing the posts. Place all the posts before continuing with the next step.
Build the fence
Measure and cut your railings. These are the boards (we recommend the 2x4s) that are placed between the posts, aligned perpendicularly. You will adhere the main boards of the fence to these. You must measure and cut them so they fit between the posts.
- You will probably need two to three rails, depending on the height of your fence.
Create the frame of your railing. Then take a 1×4 board and cut it so that it is the same height as the posts. Mark the places in the wood where you want your railings to be. With this mark, nail the 2×4 directly to the end of the bottom and the top (and possibly the center) of the railings. These rails should be perpendicular with a turn of 90 ° of the 1×4 board, with a look similar to a T (if you look from one side, you should see the side of 1 “of the 1×4 and the 4” of the 2×4 ). Do this for each end of the railing.
Fit and adhere the frame. Fit the frame between the posts and secure it from the inside edge on the posts using screws.
Adhere the external tabs or posts. Use slats or posts the width you prefer, but they should not be thicker than 1 “. Clamp or screw them using a spacer between each board to ensure that they are even and that the space between them is slightly less than their width. Continue along the entire length of the fence.
Adhere the inside of the slats or posts. Now attach the boards on the inside of the fence. These should be placed so that they cover the openings created by the outer boards.
Add a door. You may or may not want to add a door to the fence to create an entrance to the patio.
Add the final details. Now you can paint or stain your fence as you wish. You can add a decorative layer or plant shrubs along the base.
Tips
- You will usually receive a copy of the local rules and regulations when you apply for the permit.
- The posts, the frame and the boards must be made of pressure-treated wood.
- Only build along your property.
- The materials to build the fence and doors are available at most hardware stores and home improvement stores.
- Only galvanized nails should be used for pressure treated wood. Coated screws, stainless steel nails or other corrosion resistant fasteners should be used with cedar because galvanized will discolor cedar wood.


