
Adding Wayne’s Coating to Your Walls
Waynes coating is a decorative panel that is installed between the baseboard and the guard on your home. Most panels are made with tongue-and-groove wooden boards; however, they can also be found in alternative materials such as vinyl and laminate. Siding can be installed easily if you have the right tools and want to invest a little time and effort. Read the sections below to learn how to install siding or build and install your own from scratch.
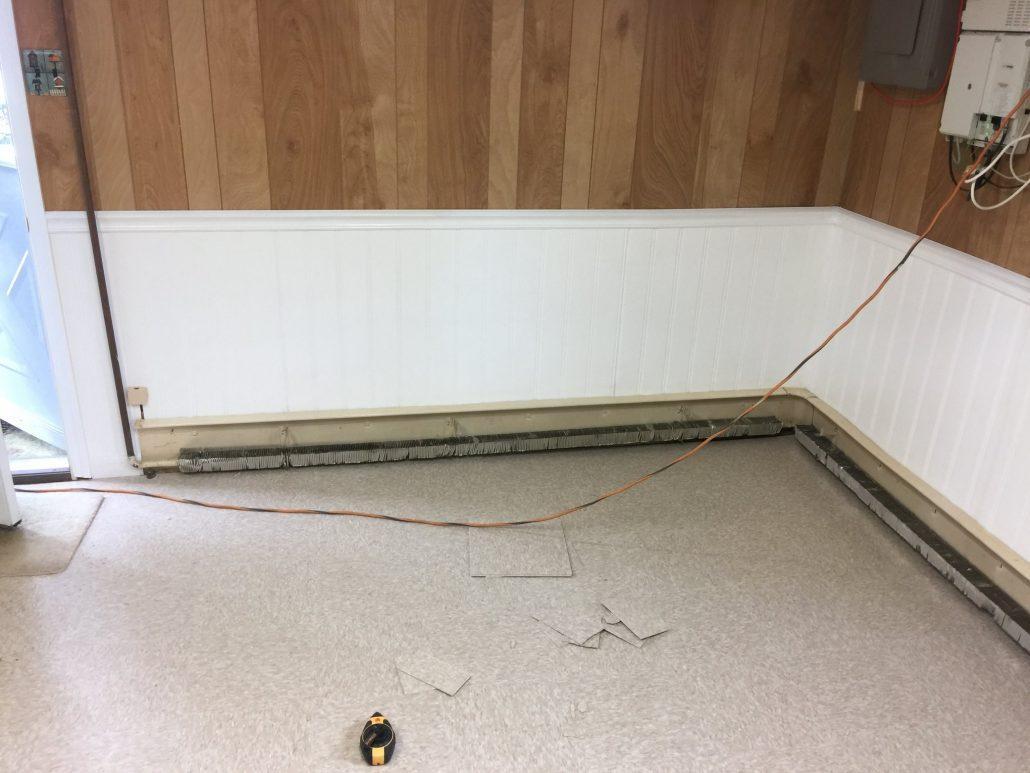
Prepare the area for installation. Remove the skirting boards, guards or existing stair moldings. You should also remove the plates from the plugs. Measure the linear footage of the room or the wall with a tape measure to determine the number of panels you will have to buy.
- Let the wood panels acclimate in the room where they will be installed, for at least 48 hours. This will prevent an expansion and contraction of the panels after the installation.
Mark the top level line. Set a level line around the room to the top of the panels. Measure the correct height of the panels, from the floor and, using a level as a straight edge, mark a guideline on each wall with a pencil. A laser level will make your job easier.
Mark the beams. Use a beam detector or tap the wall with a hammer to locate the wall beams and mark them just above the level line.
Glue and nail the panels from left to right. Apply construction adhesive to the back of an entire panel and put it in place, starting at the corner of the room. Make sure the top of the panel is flush with the level line. Hold the panel in place and secure it with nails for panels. Try to anchor the molding on the beams marked on the wall, when possible. Continue installing panels in the same way, leaving 2.5 cm (1/16 inch) of space between panels, until you reach the next corner.
- The bottom of a piece can be sanded or cut if there is a variation in the floor and the piece does not fit. However, you should double check that the top level line is correctly made.
- You will need to cut a hole for an outlet when you see that a panel is covering one. Cover the socket with light colored chalk, align the panel, press it against the chalk to get the outline of the outlet, and then cut it with a jigsaw.
Cut pieces as needed when necessary. Measure and cut the last panel with a jigsaw to fit the correct length of the wall.
Install the skirting and upper moldings. Make sure the molding is aligned with the top of the boards. Again, secure each piece to a wall beam, when possible.
Create your own panels
Put your materials together You will need 60 cm (1/4 inch) plywood for the back panels, 2.5 x 10 cm (1 x 4 inches) wood for the uprights, 2.5 x 15 cm wood (1 x 6 inches) for skirting and 2.5 x 5 cm wood (1 x 2 inches) for the rails. You will have to rent a circular saw at the hardware store in your area to cut the wood and panels to measure. A laser level, pieces of wood for the spacing of the steps, a beam locator, a nail gun with 6 cm and 4 cm (2.5 and 1.5 inch) finishing nails and other tools can also be good to have on hand.
Prepare the area for installation. Remove the skirting boards, guards or existing stair moldings. You should also remove the plates from the plugs. Measure the linear footage of the room or wall with a tape measure to determine the amount of wood you will need.
- Allow the wood to acclimate in the room where it will be installed, for at least 48 hours. This will prevent an expansion and contraction of the panels after the installation.
Mark the top level line Set a level line around the room to the top of the panels. Measure the height of the room, divide it by 3 and create your panels so that they reach that height or almost reach it. Once you have calculated the height, draw and then mark (what works best is the painter’s tape) a level line around the room. A laser level will make your job easier.
- You could try and place the top edge of the panel slightly higher than it is actually the panel if you know that the floor is uneven. This will keep to a minimum the amount of cuts you need to make. The baseboard molding can always be placed at the bottom to hide the spaces that can be left if you have an uneven floor.
Mark beams and service lines. Use a beam locator or tap the wall with a hammer to locate the wall beams and mark them above the level line. If you can locate service lines, you should also mark them on the wall to avoid hitting them with nails.
- Service lines are often found around water fountains or right next to the rafters that are closest to electrical outlets and wall lights. Be careful when nailing in those areas.
Plan the spacing. The size and orientation of your room will determine the appearance of the siding, so unfortunately no specific measures can be given. But there are a few basic guidelines you should follow to know where everything should go:
- Try placing a few studs on a beam. This will help seal your panel on the wall.
- Do not place an upright over an outlet or other unusual item. This will only cause you to cut and measure more.
- Try aligning your studs to cover the spaces between the panels, helping to hide the joints.
- Set the spacing of the studs in a way that looks good for the room size you have. The smaller the room, the more separated the uprights must be. Larger rooms can be spaced just like beams: 40 cm (16 inches) center by center.
Place the panels. Place construction adhesive on the back of the panels and place them on the wall, starting at the corner and covering the largest wall first. Align the top of the panel with the level line and secure the panels to the joists with a nail gun and 4 cm or 1.5 inch finishing nails (they should be placed on the top and bottom in ways that remain hidden by the guard and the skirting board). Continue throughout the room until you have placed all the panels.
- You will have to cut a hole for an outlet when you see that a panel is going to cover one. Cover the socket with light colored chalk, align the panel, press the panel on the chalk to get the outline of the outlet, and then cut the outline with a jigsaw.
Secure the guard. Align the 2.5 x 5 cm (1 x 2 inch) guards so that they line up with the top of the panels and then clamp them in place with 6 cm (2.5 inch) finishing nails. These should also be nailed to the beams, when possible.
Place the uprights. Then, stick and nail the uprights in place, exactly as you placed the guard. Start with two studs in the corner of the room, then use the spacer on the top and then again on the bottom while you nail the two ends in place. Use a carefully cut piece of wood as a spacer and a normal level or laser to make sure to nail the studs as straight as possible.
Fix your baseboard and skirting molding. Finally, place the molding in the same way you placed the uprights and the guard. Do not worry about the spaces that you leave in the lower part due to uneven floors: that will be covered by the molding of the base that is placed at the end.
- You can also add molding at the top to cover railing and uneven panels or just use a flat piece of wood if you want a usable shelf.
Give it a finish. Sand the finished wood surface, cover the nails with a pencil to puncture nails and then paint or stain the wood as you wish. Enjoy your new coating!


